
Embroidery looks simple at first. But clean and neat work takes skill. One small mistake can change the whole design. If your design is not placed right, it can look odd. If the shape is off, the work may look weak. That is why learning correct placement and shape is very important.Many beginners face this issue. I faced it too when I started. My designs would shift. Circles would look like ovals. Lines would not stay straight. Over time, I learned key methods to fix this. One important idea to learn early is Push and Pull Compensation Embroidery Digitizing. This helps control how fabric moves during stitching. Now, let’s explore all the simple steps that can help you get clean and perfect results.
Why Placement and Shape Matter
Good placement makes your work look neat. It also makes your product look more valuable.
First Look Matters
People notice design position first. If the design is off-center, it looks unbalanced.
Shape Shows Skill
Clean shapes show that you know your craft. A perfect circle or square builds trust.
Understand Fabric Behavior
Fabric is not stiff. It moves when you stitch.
Fabric Can Stretch
When the needle goes in and out, the fabric shifts. This can change the design shape.
Different Fabrics Act Differently
- Cotton is stable
- Knit stretches more
- Denim is thick and firm
You must know your fabric before you start.
Use the Right Tools
Tools can make your work easy.
Embroidery Hoop
A good hoop holds fabric tight. Loose fabric causes bad shapes.
Marking Tools
Use chalk or fabric pens. Mark the center before stitching.
Ruler or Measuring Tape
Always measure your placement. Do not guess.
Find the Center Point
Centering is very important.
Fold Method
Fold the fabric in half. Then fold again. The middle point is your center.
Mark It Clearly
Use a small mark. Make sure it is easy to see but easy to remove later.
Check Design Size
Size affects placement.
Match Size with Area
Do not use a big design on a small space. It will look crowded.
Keep Balance
Small designs fit better on pockets or sleeves. Large designs work on the back or front.
Secure the Fabric Properly
This step is often ignored.
Tight Hoop Is Key
The fabric should feel like a drum. Not too loose, not too tight.
Avoid Wrinkles
Wrinkles can change shape. Smooth the fabric before hooping.
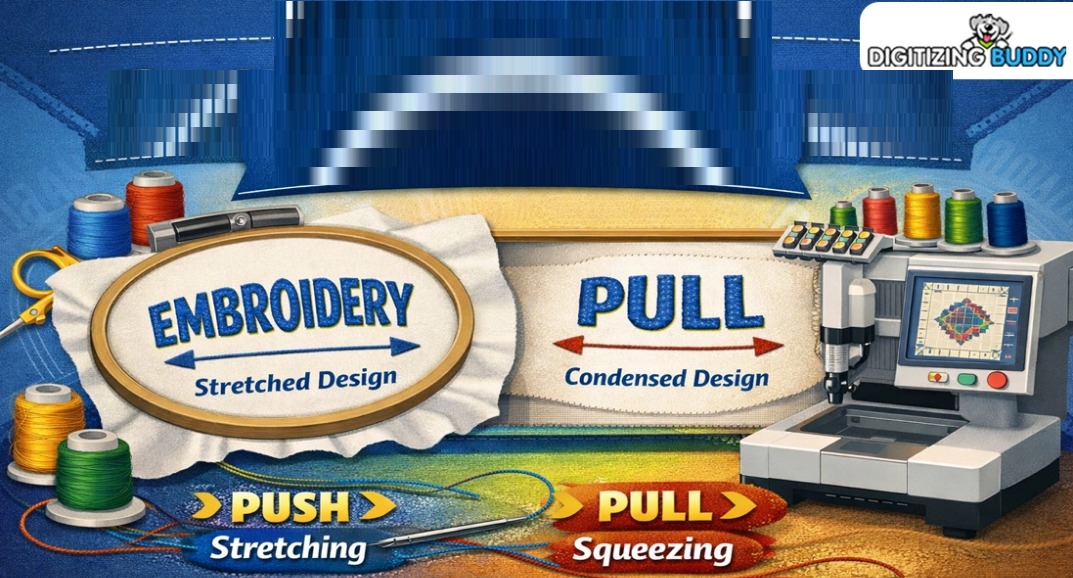
Understand Push and Pull Effect
This is a common problem in embroidery.
What Is Push Effect
Stitches push the fabric outward.
What Is Pull Effect
Stitches pull the fabric inward.
How It Changes Shape
A square may turn into a curve. A circle may stretch.
Fix with Compensation
Adjust your design size slightly. This helps keep the final shape correct.
Choose the Right Stitch Type
Stitch type affects the final look.
Satin Stitch
Good for borders and text. It gives a smooth look.
Fill Stitch
Best for large areas. It covers space well.
Running Stitch
Used for outlines and light designs.
Keep Stitch Direction in Mind
Direction can change how light hits your design.
Use Consistent Direction
This keeps the design smooth.
Change Direction When Needed
Different angles can add depth. But use it with care.
Test Before Final Stitch
Never skip this step.
Do a Sample Run
Use scrap fabric. Test your design first.
Check Shape and Placement
Look at the result. Fix any issues before final work.
Use Stabilizer
Stabilizer supports the fabric.
Types of Stabilizers
- Tear-away
- Cut-away
- Wash-away
Pick the Right One
Soft fabric needs strong support. Thick fabric needs less.
Align Your Machine
If you use a machine, alignment is key.
Check Needle Position
The needle must hit the exact spot.
Keep Machine Clean
Dust and thread can affect movement.
Work with Good Lighting
You must see clearly.
Bright Light Helps
It shows small errors.
Avoid Shadows
Shadows can hide your marks.
Keep Your Hands Steady
Hand control is very important.
Move Slowly
Do not rush your work.
Focus on Each Stitch
Careful work gives better results.
Learn from Mistakes
Mistakes help you grow.
Save Your Old Work
Look at past errors. Learn what went wrong.
Improve Each Time
Try to fix one issue at a time.
Common Placement Areas and Tips
Different items need different placement.
T-Shirts
Place design 2 to 3 inches below the neck.
Caps
Keep design in the front center.
Bags
Center the design on one side.
Keep Designs Simple at First
Simple designs are easier to manage.
Avoid Too Many Details
Too much detail can ruin shape.
Grow Step by Step
Start small. Then try complex designs later.
Time Management Matters
Do not rush your work.
Plan Your Work
Set time for each step.
Take Breaks
Tired hands make mistakes.
Build Consistency
Consistency builds trust.
Repeat Good Methods
Use the same steps each time.
Create a Routine
A set routine helps avoid errors.
My Personal Experience
When I started, I ignored small details. My designs looked uneven. I did not understand why. Later, I learned about fabric movement and proper hooping.
One time, I made a logo for a client. The shape was off. I had to redo it. That taught me the value of testing first. Now, I never skip a sample run.
Over time, I built a simple system. I mark the center. I check size. I secure fabric well. This method works every time.
Build Trust with Quality Work
Quality brings repeat clients.
Show Real Results
Share clear photos of your work.
Be Honest
If a design is tricky, tell your client.
Deliver on Time
Good service builds strong trust.
Final Thoughts
Accurate placement and shape are key in embroidery. Small steps make a big difference. Focus on fabric, tools, and technique. Always test your work before final stitching.
With time and practice, your skills will improve. Stay patient. Stay careful. Good embroidery is not fast work, but it is worth it.